Creating a checkout flow of an e-commerce application with Sveltekit and MedusaJS
Published at Apr 6, 2024
In this article, I will explain how to build a checkout and payment flow with Medusa.js inside a Sveltekit e-commerce application.
Medusa.js is a JavaScript framework designed specifically for building ecommerce applications. It comes with features and functionality tailored to the needs of ecommerce applications, such as product management, inventory management, checkout processes, and payment gateways.
I used pevey’s sveltekit medusa starter as the starting point of my e-commerce application, but because it is not longer maintained, I made changes to the code on my own, such as decoupling the starter from pevey’s sveltekit-medusa-client.
Preparation
To help you troubleshoot with convenience, particularly so when are there are multiple technologies working in tandem, prepare the following:
- Medusa Store API Documentation page
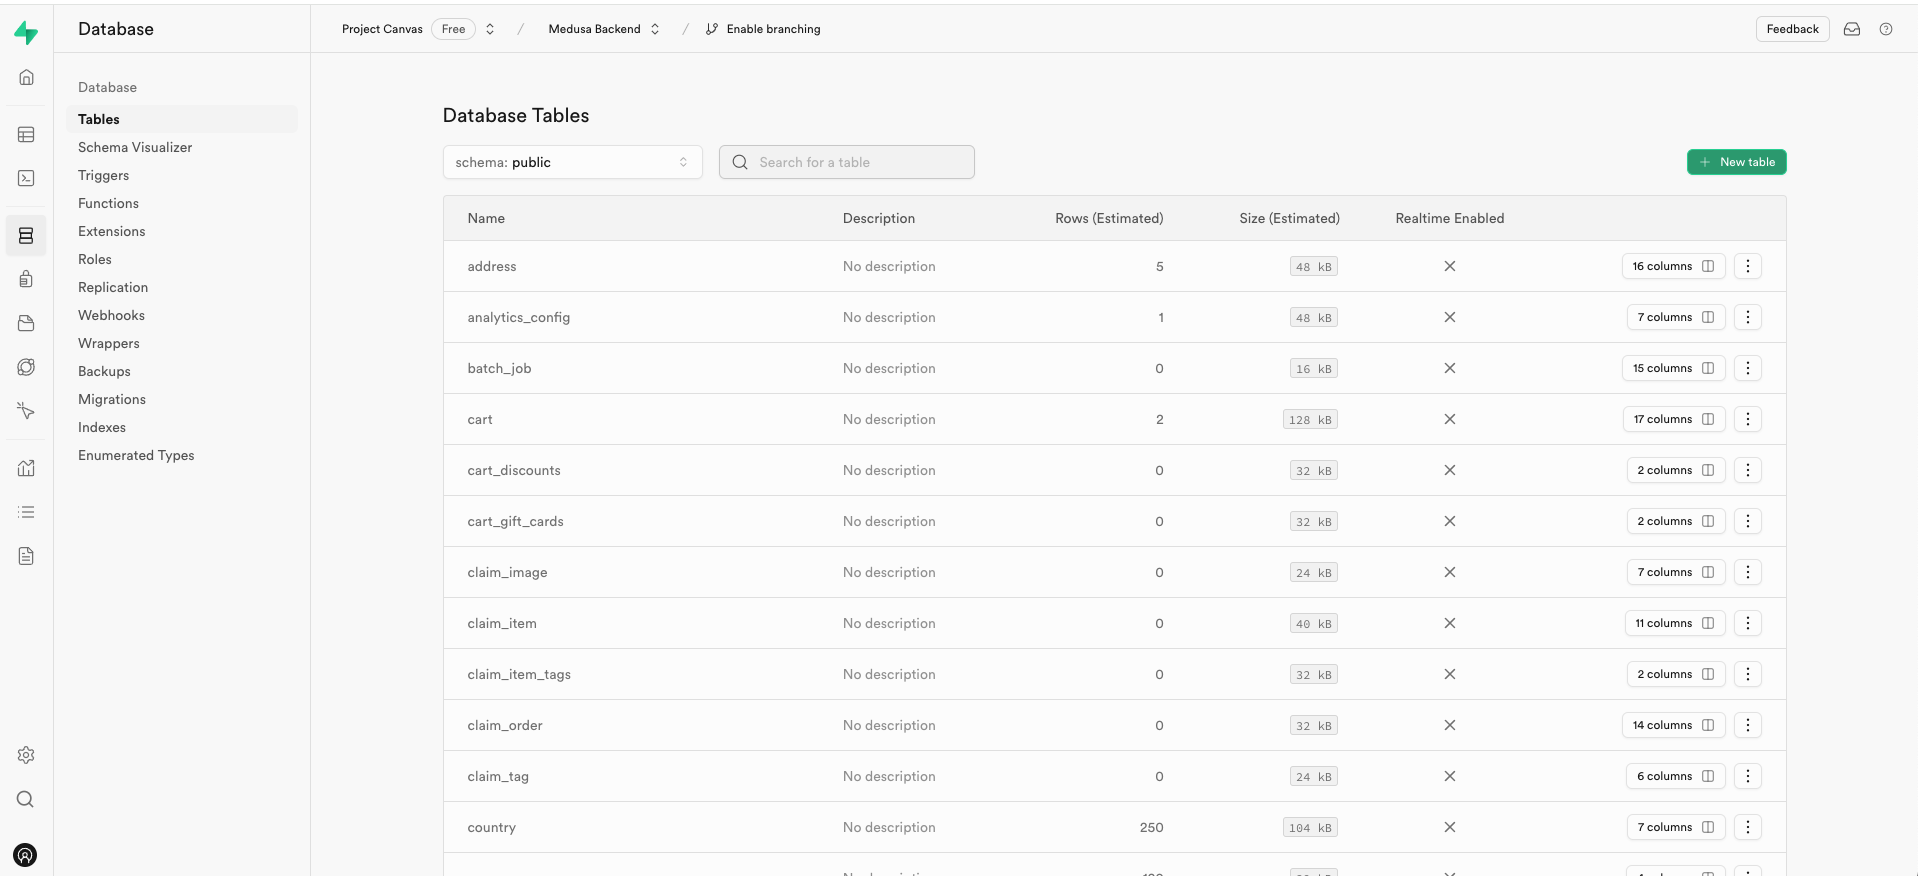
- An interface to view tables inside the Postgresql database connected your Medusa backend. Example: Supabase dashboard
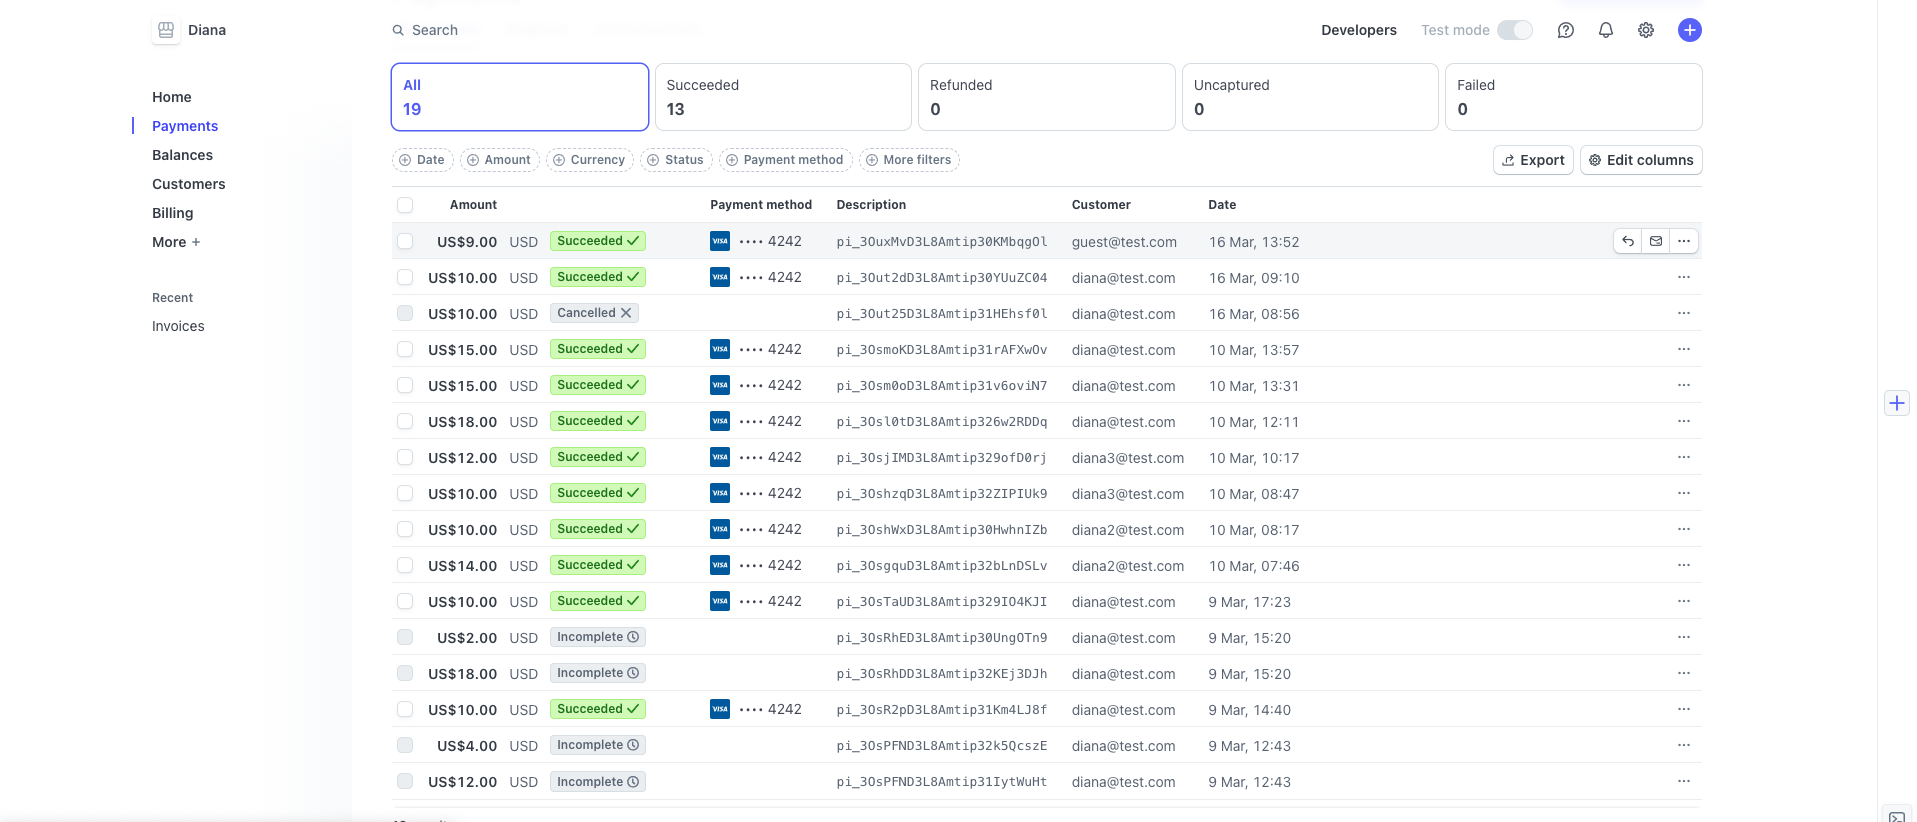
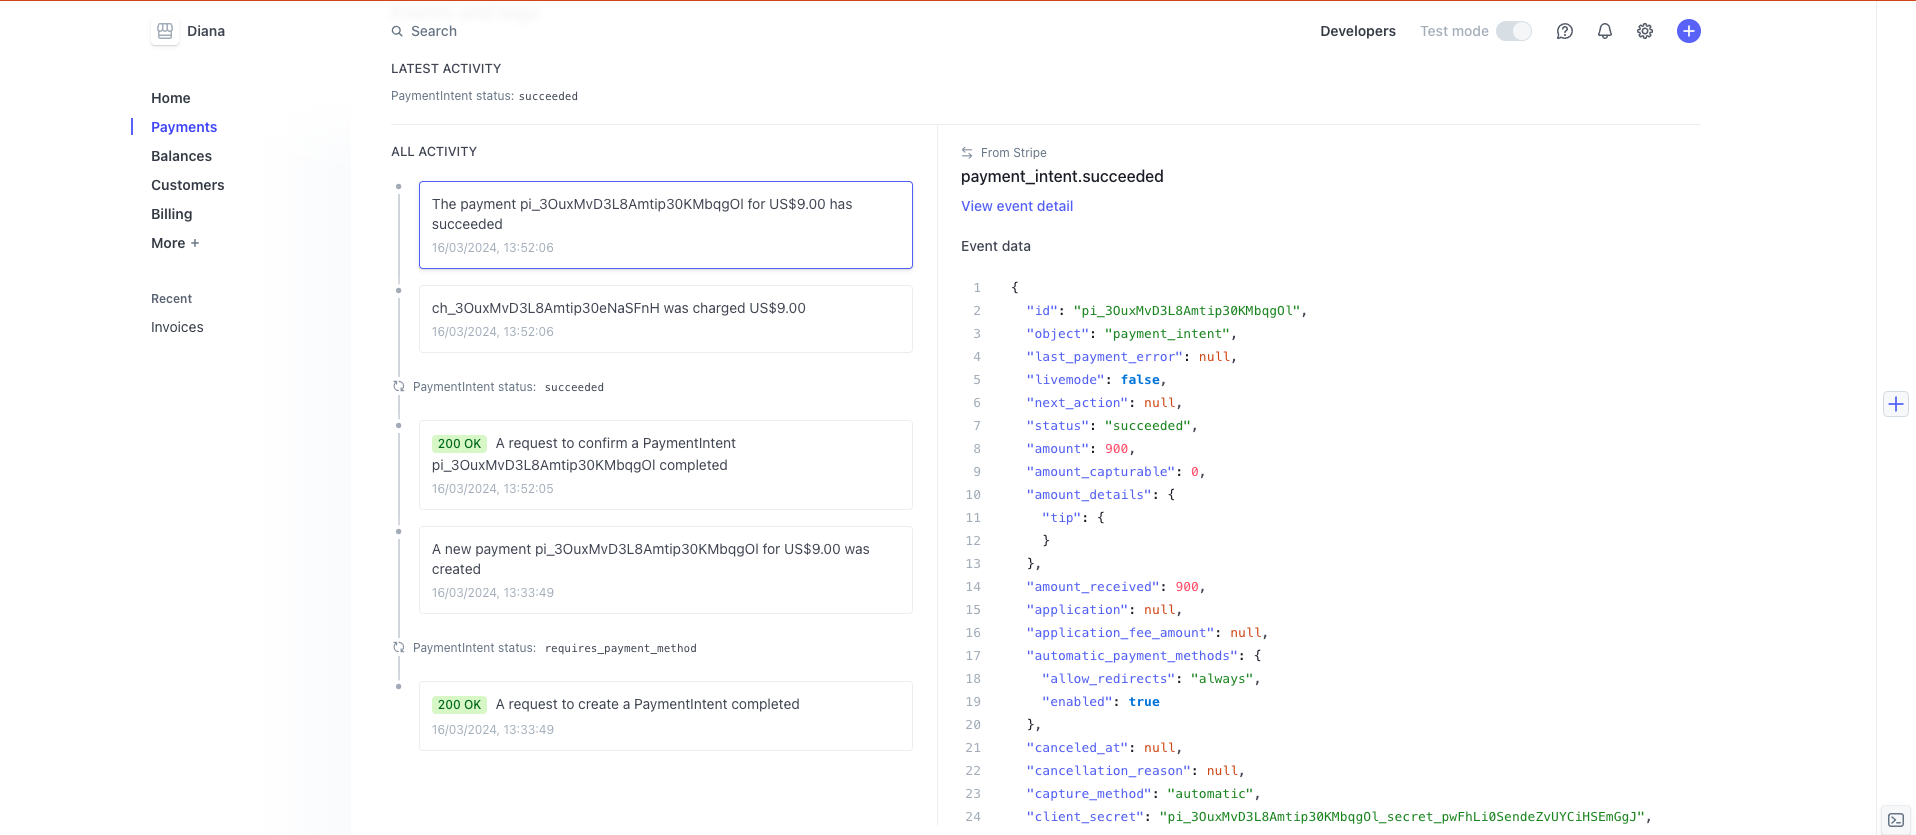
- Stripe dashboard to view all Payment details
- Postman Desktop to make calls on Medusa’s APIs directly
Medusa setup
Create a folder lib/server with a file called medusa.js with the code below. By doing this, we only initialize an instance of the Medusa’s Javascript Client once. We can then use the client’s methods throughout the application by importing the medusa object.
  <script>
    import Medusa from "@medusajs/medusa-js"
    import { MEDUSA_BACKEND_URL } from '$env/static/private'

    const medusa = new Medusa({ baseUrl: MEDUSA_BACKEND_URL, maxRetries: 3 })

    export default medusa
  </script>
Stripe plugin setup
Medusa backend
After installing the plugin with yarn add medusa-payment-stripe in the Medusa backend, configure it by adding the following lines to the plugins array inside medusa-config.js.
On the dashboard of your Stripe account click on the Developers link at the top right, to enter the developer dashboard. Retrieve the Secret API Key and paste it into the .env file of the Medusa backend
Next, go to Webhooks on Stripe’s developer dashboard. Then, click ‘test in a local environment’. Download the Stripe CLI and login. Forward events to your webhook, by entering in your terminal the command stripe listen --forward-to localhost:9000/webhook.
Please check and use the same port number which your Medusa backend is served from, instead of blindly copying localhost:4242 from stripe’s instructions.
const plugins = [
  ...other plugins...
  {
    resolve: `medusa-payment-stripe`,
    options: {
      api_key: process.env.STRIPE_API_KEY,
      webhook_secret: process.env.STRIPE_WEBHOOK_SECRET,
      capture: true
    },
  }
];PUBLIC_STRIPE_KEY="pk_test_XXX"
STRIPE_WEBHOOK_SECRET="XXXXX"In a production application, use the live secret keys instead of test keys. For the Webhook URL, replace localhost with the actual domain name your backend is served from.
Medusa Admin
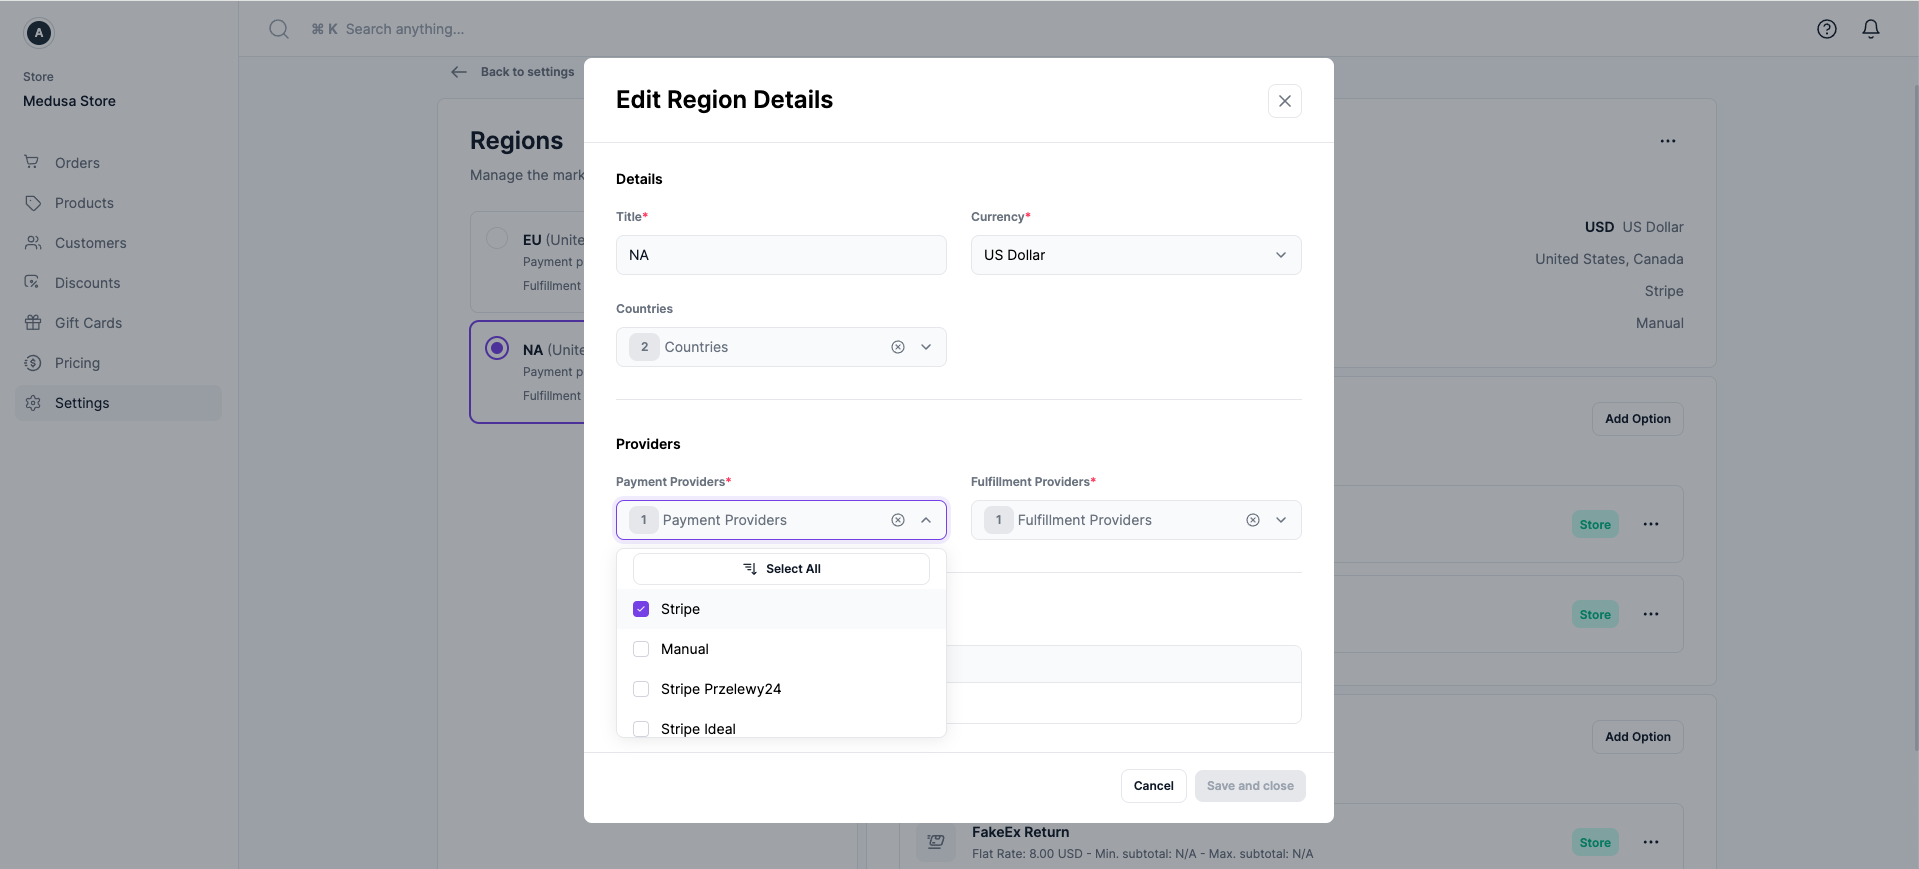
Do not forget to add Stripe as one of the payment providers, which can be done from the Medusa Admin dashboard. To do this, you have to first create at least one region, such as North America, and then in the Payment Provider section, click on the Stripe option. If you do not see the Stripe option, it means that Stripe has not been installed.
References Medusa’s Documentation on Stripe plugin setup.
I struggled with this, primarily because I misread the documentation: “As for the webhook_secret, it’s essential for your production environment. So, if you’re only using Stripe for development you can skip adding the value for this option at the moment.” I did not provide a webhook in the configuration, which was absolutely necessary to use the Stripe plugin to make a payment in Stripe’s test mode (ie. using Stripe’s test API keys with test credit card details). On hindsight, it was quite silly of me not to catch on that the missing webhook was the key to resolve the payment related errors. It would not even have taken much time/steps to set it up.
Add to Cart
Create a cart route by creating a folder ‘cart’ inside the routes directory with a +page.server.ts file.
In the page, specify named actions that you require for cart manipulation. Each action receives a RequestEvent object, allowing you to read the data with request.formData().
When creating a cart, associate a customer’s identification (customer_id and email) to it. These parameters can only be found in the update method, so after creating a cart, make another call to update the cart with the customer_id and email address of the logged-in user. This prevents multiple Stripe PaymentIntents from being created along the way as the customer progresses through each stage of the checkout to payment process. Payment intents will be explained later on. I found attaching customer’s identification to a cart necessary to have payment status be ‘captured’ instead of ‘awaiting’. If a guest user, no customer_id and email can be found, so this will be dealt with at the checkout page before a payment intent is made.
  import type { PageServerLoad, Actions } from './$types'
  import medusa from '$lib/server/medusa'

  export const actions: Actions = {
    add: async ({ request, locals, cookies }) => {
      const data = await request.formData()
      const variantId = data.get('variantId') as string
      const cartId = locals.cartid || (await createCart(locals, cookies));
      const cart = await addToCart(cartId, variantId)
      if (cart) return { success: true, cart }
    },

    remove: async({ request, locals }) => {
      ...
   },

   update: async({ request, locals }) => {
      ..
   }
  }

  async function createCart(locals: any, cookies: any) {
    try {
      let { cart } = await medusa.carts.create()
        .then((res) => res)
        .catch((e) => console.log(e))

      if(locals && locals.user) {
        cart = await medusa.carts.update(cart.id, {
          customer_id: locals.user.id,
          email: locals.user.email
        })
        .then(({ cart }) => cart)
        .catch((e) => console.log(e))
      }

      cookies.set('cartid', cart.id, {
        path: '/',
        maxAge: 60 * 60 * 24 * 400,
        sameSite: 'strict',
        httpOnly: true,
        secure: true
      });
      locals.cartid = cart.id;
      if (cart) return cart.id
    } catch (error) {
      console.error('Error creating cart:', error);
      return null;
    }
  }

  async function addToCart(cartId: string, variantId: string, quantity = 1) {
   if (!variantId) {
     return null;
   }
   try {
     return await medusa.carts.lineItems.create(cartId, { variant_id: variantId, quantity })
      .then(({ cart }) => cart)
      .catch((e) => console.log(e))
   } catch (error) {
     console.error('Error adding product to cart:', error);
   }
 }
Inside the product page, create a button. To invoke the named action inside routes/cart/+page.server.ts from the button, wrap it with a form tag. If someone were to click the button, the browser would send the form data via POST request to the server, running the ‘add’ action.
  <form action="/cart?/add" method="post">
     input type="hidden" name="variantId" value="{product.variants[product.variants.findIndex(v => v.id === selectedVariantId)].id}" />
    <button type="submit">
      Add to Cart
    </button>
  </form>
References
Checkout and Payment
Inside the cart component lib/components/Cart.svelte, create a button. To invoke the action inside routes/checkout/+page.server.ts from the button, wrap it with a form action.
  <form action="/checkout" method="post">
    <button use:close type="submit">
      Checkout
    </button>
  </form>
Server side steps:
1. Create payment sessions for each Payment Processor (eg. Stripe) available in region associated with cart.
2. For Stripe, a Payment Intent associated with the customer is created simultaneously.
3. Select and set a payment session (This is only required if there are more than one Payment Processors)
4. Extract shipping options associated with cart (Different regions may have different shipping methods)
5. Set a default shipping option
The stripe plugin has to be installed correctly for any cart-related API calls to run without error. Before the checkout page routes/checkout/+page.svelte is rendered, the server load function will return variables which is available to the page via the data prop. We want the checkout page to have data of the current customer and cart.
If you check the cart object, the data attribute nested inside the payement session attribute, will hold the payment intent among other data necessary to authorize the payment.
  import type { PageServerLoad, Actions } from './$types'
  import { fail, error, redirect } from '@sveltejs/kit'
  import medusa from '$lib/server/medusa'

  export const load: PageServerLoad = async function ({ locals }) {
    if (!locals.user) throw redirect(302, '/auth?rurl=checkout')

    if (!locals.cartid || locals.cartid === '') {
        return {props: {}}
    }

    let cart
    if(locals.user) {
        cart = await medusa.carts.update(locals.cartid, {
          customer_id: locals.user.id,
          email: locals.user.email
        })
        .then(({ cart }) => cart)
        .catch((e) => console.log(e))
    }

    let cart = await medusa.carts.createPaymentSessions(locals.cartid)
      .then(({ cart }) => cart)
      .catch((e) => console.log(e))
    if (!cart.total) { throw error(400, { message: 'Could not create payment sessions' })}

    cart = await medusa.carts.setPaymentSession(locals.cartid, { provider_id: 'stripe'})
      .then(({ cart }) => cart)
      .catch((e) => console.log(e))
    if (!cart.total) { throw error(400, { message: 'Could not select payment provider' })}

    let shippingOptions = await medusa.shippingOptions.listCartOptions(locals.cartid)
      .then(({ shipping_options }) => shipping_options)
      .catch((e) => console.log(e));
    if (!shippingOptions) { throw error(400, { message: 'Could not get shipping options' })}

    if(shippingOptions && shippingOptions.length > 0) {
      cart = await medusa.carts.addShippingMethod(locals.cartid, {option_id: shippingOptions[0].id})
      .then(({ cart }) => cart)
      .catch((e) => console.log(e));
    }

    return {
      user: locals.user,
      cart,
      shippingOptions
    }
  }
References
- Sveltekit Documentation: Loading data
- Medusa Documentation: Payment Architecture Overview
- Stripe Documentation: Payment Intent
Client side steps:
1. Make a payment and successfully authorize payment session
2. On checkout, other actions such as saving a customer’s shipping address filled in the form can be done through a fetch request to a sveltekit route, which in turn makes a Medusa API call to update the customer’s details.
Add these 2 packages: npm install -D stripe svelte-stripe
stripe is the official server-side version of Stripe. svelte-stripe is the community-supported wrapper for Stripe Elements.
In your payment page, initialize Stripe and add a <Elements> component to render Stripe Elements. When a user enters payment and delivery details, the full context along with the client secret is sent in a Stripe API call to submit the payment, which is stripe.confirmPayment. The client secret of the Payment Intent is used to complete a payment from your frontend. It can be extracted from the cart object like so cart.payment_session.data.client_secret.
<script>
  import { PaymentElement, Address, Elements, type StripeElements, type StripeAddressElementOptions } from 'svelte-stripe'
  import { loadStripe } from '@stripe/stripe-js'

  export let data: PageData
  let stripe: any = null
  let user = data.user
  let cart = data.cart
  let order = data.order
  let shippingOptions = data.shippingOptions || []

  let clientSecret: string = cart.payment_session.data.client_secret
  let shippingOptionId: string = shippingOptions.length ? shippingOptions[0].id : 0

  onMount(async() => {
    stripe = await loadStripe(PUBLIC_STRIPE_KEY)
  })
</script>
Initially pre-populate the address fields with one of the customer’s saved addresses, if any, for checkout convenience. A Medusa API call will be not be made to add this address to the customer’s profile, unless any of the fields is different from the current address. A separate Medusa API call will be made to update the cart with the populated address as the shipping address. Pay attention to the data structure of the contact and address information for both the Medusa API and Stripe API, they have to be provided accurately.
   if (user.shipping_addresses) {
      for (let address of user.shipping_addresses) {
         contacts.push({
            firstName: address.first_name,
            lastName: address.last_name,
            address: {
               line1: address.address_1,
               line2: address.address_2,
               city: address.city,
               state: address.province,
               postal_code: address.postal_code,
               country: address.country_code.toUpperCase(),
            }
         })
      }
   }

  // triggered upon payment button. value contains values from all form fields
  const saveAddress = async (value: any) => {
    let address = {
        first_name: value?.firstName,
        last_name: value?.lastName,
        address_1: value?.address?.line1,
        address_2: value?.address?.line2,
        city: value?.address?.city,
        province: value?.address?.state,
        postal_code: value?.address?.postal_code,
        country_code: value?.address?.country.toLowerCase(),
    }

    let newAddress = true

    for (let existing of user.shipping_addresses) {
      const existing_address = {
          first_name: existing.first_name,
          last_name: existing.last_name,
          address_1: existing.address_1,
          address_2: existing.address_2,
          city: existing.city,
          province: existing.province,
          postal_code: existing.postal_code,
          country_code: existing.country_code
      }
      if (JSON.stringify(address) === JSON.stringify(existing_address)) {
          newAddress = false
      }
    }

    if (newAddress) {
      // medusa.customers.addresses.addAddress({ address })
      const success = await fetch('/checkout/save-address', {
        method: 'POST',
        headers: {'Content-Type': 'application/json'},
        body: JSON.stringify(address)
      })
      .then(res => res.ok)
      .catch((e) => console.log(e))
      if (!success) return false
    }
    // medusa.carts.update(locals.cartid, {shipping_address: address})
    return await fetch('/checkout/shipping-address', {
        method: 'POST',
        headers: {'Content-Type': 'application/json'},
        body: JSON.stringify(address) })
    .then(res => res.json())
    .catch((e) => console.log(e))
  }
Be careful with specfiying method parameters in stripe.confirmPayment function, or else the payment status may not be what you want. Either provide the elements parameter OR the confirmParams parameter. Since the Stripe Elements instance created already binds the form context with binds:elements, including the client_secret, use it.
  <Elements {stripe} {clientSecret} bind:elements>
      <form class="grid gap-y-8" method="POST" use:enhance={ async ({ cancel }) => {

        if (processing) cancel()
        processing = true

        const addressContainer = elements.getElement('address');
        const {complete, value} = await addressContainer.getValue()
        if (complete) {
            cart = await saveAddress(value)
            if (!cart) {
              errorMessage = 'Something went wrong while saving your address.'
              cancel()
            }
        }

        const stripeResponse = await stripe.confirmPayment({
            elements,
            redirect: 'if_required',
        })

        if (stripeResponse.error) {
            errorMessage = 'Something went wrong while confirming Stripe payment'
            processing = false
            cancel()
        } else {
            processing = false
            success = true
        }
      }}>

        <Address mode='billing' defaultValues={contacts[0]} display={{name: 'split'}}/>

        <select bind:value={shippingOptionId} on:change={async () => { cart = await saveShippingOption(shippingOptionId) }}>
            {#each shippingOptions as shippingOption}
              <option value={shippingOption.id}>{shippingOption.name} {formatPrice(shippingOption.price_incl_tax)}</option>
            {/each}
        </select>

        <PaymentElement />

        <button disabled={processing} type="submit">
            {#if processing} Processing...{:else} Complete Your Order {/if}
        </button>

      </form>
  </Elements>
To simulate a successful payment, use test cards. You can find a list of test cards here.
As the last step, on the server, upon a form submission, an action is taken to complete the cart and place the order. This includes attempting to authorize the cart’s payment. Pay attention to this written in the API documentation: 200 If the payment of the cart was successfully authorized, but requires further action from the customer, the response body will contain the cart with an updated payment session. Otherwise, if the payment was authorized and the cart was successfully completed, the response body will contain either the newly created order or swap, depending on what the cart was created for. You may check the orders table in your Medusa Admin dashboard to confirm that an order has been placed.
  import type { PageServerLoad, Actions } from './$types'
  import { fail, error, redirect } from '@sveltejs/kit'
  import medusa from '$lib/server/medusa'

  //....load actions.....

  export const actions: Actions = {
    default: async ({ locals, cookies }) => {
      if (!locals.cartid) {
          return null;
      }

      const reply = await medusa.carts.complete(locals.cartid)
          .catch((e) => console.log(e));

      const order = (reply.type === 'order') ? reply.data : false;

      cookies.set('cartid', '', {
          path: '/',
          maxAge: 0,
          sameSite: 'strict',
          httpOnly: true,
          secure: true
      })
      locals.cartid = ''
      if (order) {
          console.log("PAID WITH ORDER THROUGH")
          return { success: true, order: reply.data }
      } else {
          console.log('PAID BUT AN ERROR MESSAGE SHOWS')
          return fail (400, { success: false })
      }

    }
  }
There were times when a payment was authorized but the cart was not completed. This was because I did not specify the method parameters in
stripe.confirmPaymentfunction correctly, and stripe was expecting further action. To retry a payment, I suggest starting the checkout flow fresh by deleting the cart directly from the postgresql database and starting with a new cart or new test user account.
References
Summary
I spent quite alot of time figuring out how to make the checkout and payment flow work successfully because I made some missteps setting up Stripe and integrating it with Sveltekit. I suggest using Medusa’s Next.js starter, if you intend to build a brand new e-commerce site from scratch and am familiar with React.js. This tutorial just scratches the surface of a fully functional and secure e-commerce application built with Sveltekit. I may extend it to include more features like authentication, stay tuned!